You could look at it directly as a presentation and discuss the different materials being shown in each of the photos.
You could print off and laminate the photos to make an interesting, eye-catching display about materials.
The students could also take the laminated photos and sort them into different types of Materials.
The photos could also be used as prompts for creative writing, factual writing or descriptive writing.
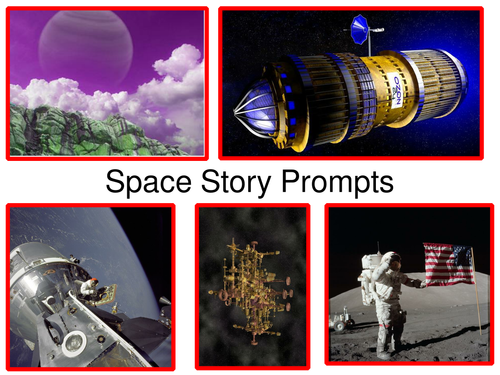
You could look at it directly as a presentation and discuss the different space bodies and view of Earth being shown in each of the photos.
You could print off and laminate the photos to make an interesting, eye-catching display about Space and our Solar System.
The students could also take the laminated photos and sort them into different space bodies. The students can then discuss what they think living in space would be like.
The photos could also be used as prompts for creative writing, factual writing or descriptive writing.
You could look at it directly as a presentation and discuss the different materials being shown in each of the photos.
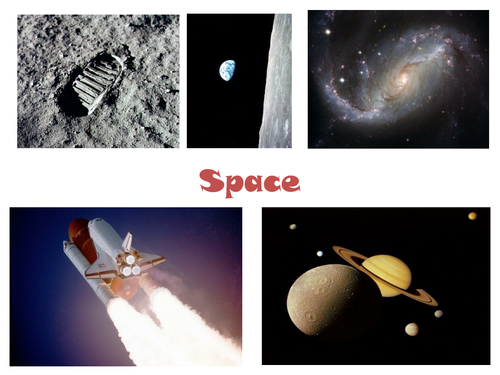
You could print off and laminate the photos to make an interesting, eye-catching display about space exploration.
The students could also take the laminated photos and create an exciting story about exploring space using these as visual prompts.
The photos could also be used as prompts for creative writing, factual writing or descriptive writing.
You could look at it directly as a presentation and discuss the different materials being shown in each of the photos.
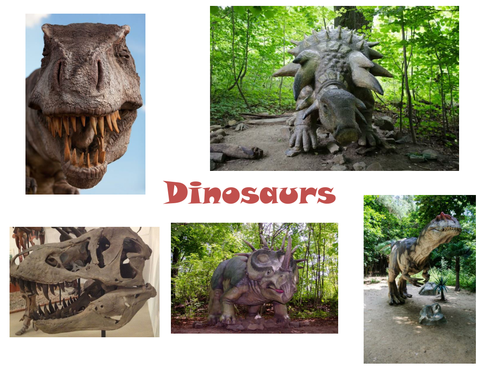
You could print off and laminate the photos to make an interesting, eye-catching display about dinosaurs.
The students could also take the laminated photos and sort them into different types of dinosaurs. The students can then discuss what they think each one eats and how they move.
The photos could also be used as prompts for creative writing, factual writing or descriptive writing.
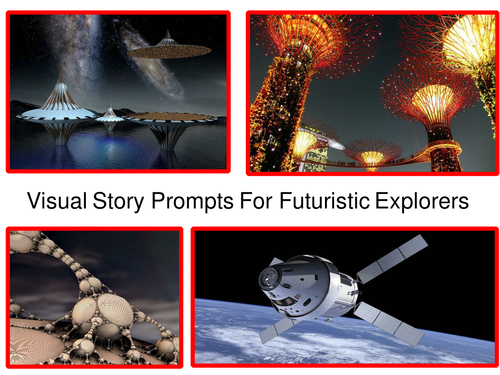
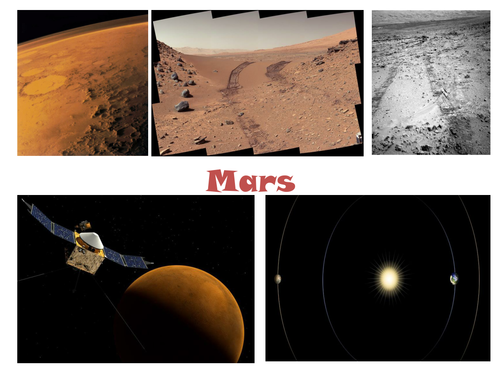
You could look at it directly as a presentation and discuss the different space locations and space craft being shown in each of the photos.
You could print off and laminate the photos to make an interesting, eye-catching set of story prompts.
The students could also take five of the laminated photos and create them into a story .
The photos could also be used as prompts for creative writing, factual writing or descriptive writing.
You could look at it directly as a presentation and discuss the different locations being shown in each of the photos.
You could print off and laminate the photos to make an interesting, eye-catching set of story prompts.
The students could also take five of the laminated photos and create them into a story .
The photos could also be used as prompts for creative writing, factual writing or descriptive writing.
Are you studying about night and day? This set of creative writing worksheets helps your students to explore an image using all their senses. They look at each picture and write down what they see, hear, smell, taste and touch. They then use these notes to write richer, better structured essays. This is a great way of preparing for the KS1 SATs tests and the KS2 SATs tests.
You could look at it directly as a presentation and discuss the different locations being shown in each of the images.
You could print off and laminate the images to make an interesting, eye-catching set of story prompts.
The students could also take five of the laminated images and create them into a story .
The images could also be used as prompts for creative writing, factual writing or descriptive writing.
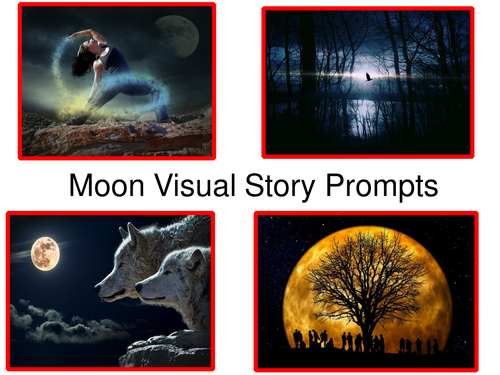
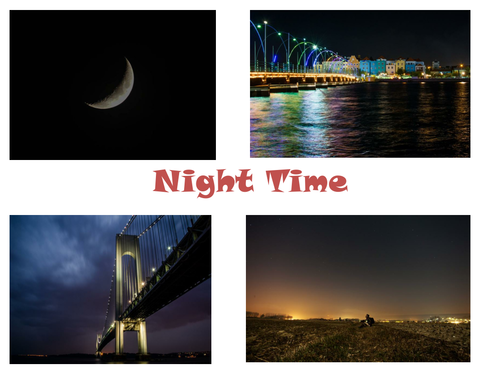
You could look at it directly as a presentation and discuss the different moonlit locations being shown in each of the photos.
You could print off and laminate the photos to make an interesting, eye-catching set of story prompts.
The students could also take five of the laminated photos and create them into a story .
The photos could also be used as prompts for creative writing, factual writing or descriptive writing.
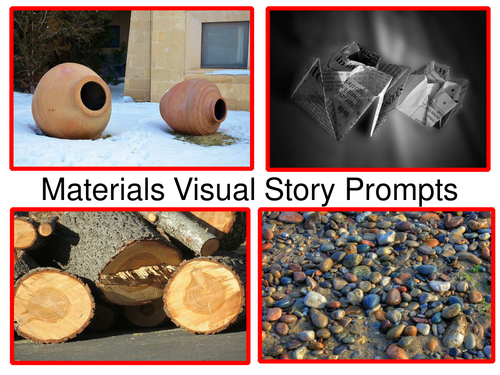
You could look at it directly as a presentation and discuss the different materials being shown in each of the photos.
You could print off and laminate the photos to make an interesting, eye-catching set of story prompts.
The students could also take five of the laminated photos and create them into a story .
The photos could also be used as prompts for creative writing, factual writing or descriptive writing.
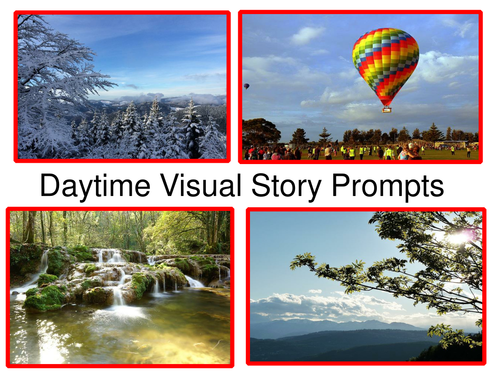
You could look at it directly as a presentation and discuss the different locations being shown in each of the sunlit photos.
You could print off and laminate the photos to make an interesting, eye-catching set of story prompts.
The students could also take five of the laminated photos and create them into a story .
The photos could also be used as prompts for creative writing, factual writing or descriptive writing.
Rev Up Learning: The Importance of 30 Tractor Pictures for Educators
Investing in a set of 30 tractor pictures is an excellent opportunity for teachers to enhance their students’ learning experiences, particularly in subjects related to agriculture, technology, and environmental science. These vibrant visuals serve as a powerful educational tool that can ignite curiosity and facilitate engaging discussions. Here’s why educators should consider purchasing these tractor pictures and how they can be effectively utilized in the classroom.
Engaging Visuals: The colorful and detailed images of tractors capture students’ attention, making learning more engaging. These visuals are particularly effective for kinesthetic and visual learners, helping to stimulate interest in agricultural topics.
Real-World Connections: Tractors play a crucial role in modern farming and agriculture. By incorporating these pictures into lessons, teachers can help students understand the significance of tractors in food production, sustainability, and rural economies.
Promoting Discussion: The pictures can serve as conversation starters, prompting discussions about farming practices, machinery technology, and the impact of agriculture on the environment. This encourages students to think critically about the world around them.
Creative Projects: Educators can use these images as a springboard for creative projects, such as storytelling or art assignments. Students can describe their favorite tractors, design their own, or even create a comic strip featuring tractors in action.
Cross-Disciplinary Learning: These tractor pictures can be integrated into various subjects, including science, math, and social studies. For example, math lessons can incorporate measurements of tractors or calculations related to farming efficiency.
Field Trip Preparation: If planning a field trip to a farm or agricultural event, these pictures can help students familiarize themselves with the equipment they will see, enhancing their overall experience.
In summary, a set of 30 tractor pictures is a valuable resource for educators, enhancing engagement, promoting discussions, and supporting creative learning experiences. These images not only foster a deeper understanding of agriculture but also inspire curiosity and critical thinking among students, making them essential for a dynamic classroom environment.
Are you doing a project on Mars or space exploration. This pack of 30 photos come from the NASA website and focus on what the different rovers have photoed and discovered on Mars.
You could look at it directly as a presentation and discuss the different materials being shown in each of photos.
You could print off and laminate the photos to make an interesting, eye-catching display about lights.
The students could also take the laminated photos and sort them into different sorts of lights. The students can then discuss how they decided on each type of light.
The photos could also be used as prompts for creative writing.
Are your students learning about space and the solar system. This pack of 30 different photos about space from NASA and photos from Earth will help them to think about what they know about space and encourage them to ask more questions.
You could look at it directly as a presentation and discuss the different space objects being shown in each of photos.
You could print off and laminate the photos to make an interesting, eye-catching display about space.
The students could also take the laminated photos and sort them into different sorts of space objects. The students can then discuss why we need to know about each object.
The photos could also be used as prompts for creative writing.
Using Images of Sources of Light in the Classroom: Illuminating Learning Opportunities
Incorporating images that depict various sources of light into the classroom can greatly enhance students’ understanding of this fundamental concept in science. Light is an essential topic in many educational curriculums, and using visual aids can make learning more engaging and effective. Here are several ways to utilize these images in the classroom.
Visual Representation: Images of natural and artificial light sources—such as the sun, light bulbs, candles, and fireflies—provide students with clear visual representations. This can help them grasp the differences between types of light and their characteristics, such as intensity and color.
Interactive Discussions: Displaying images of light sources can serve as a launchpad for engaging discussions. Teachers can ask students questions like, “What sources of light do you see in your daily life?” or “How does light from the sun differ from that of a fluorescent bulb?” This encourages critical thinking and personal connections to the topic.
Hands-On Activities: After introducing images of different light sources, educators can organize hands-on experiments. For example, students can explore how light travels through different materials or investigate how shadows are formed. This experiential learning solidifies their understanding of the concepts visually represented.
Cross-Disciplinary Connections: Images of light sources can be integrated into various subjects. For instance, in art, students can study how artists use light and shadow in their work. In history, they can explore the development of artificial light sources and their impact on society.
Science Exploration: Teachers can use images to explain scientific principles related to light, such as reflection, refraction, and the spectrum of light. By visually demonstrating these concepts, students can better understand how light behaves in different situations.
Promoting Creativity: Encourage students to create their own images or posters representing various light sources. This creative project not only reinforces learning but also allows students to express their understanding artistically.
Incorporating Technology: Use digital platforms to showcase interactive images or videos that illustrate sources of light in action. This can include animations showing how sunlight interacts with objects, making the learning experience more dynamic and immersive.
Real-World Applications: Discuss the importance of light sources in everyday life, such as in photography, gardening, and technology. This helps students appreciate the relevance of the topic beyond the classroom.
In conclusion, using images of sources of light in the classroom provides a wealth of opportunities for engaging and effective learning. By incorporating visual aids, hands-on activities, and cross-disciplinary connections.
Are you teaching your students about different times of day, night time, light or the moon. This set of 30 photos focuses on night time.
You could look at it directly as a presentation and discuss the different night time activities being shown in each of photos.
You could print off and laminate the photos to make an interesting, eye-catching display about night time.
The students could also take the laminated photos and sort them into different catergories. The students can then discuss how they decided on each group.
The photos could also be used as prompts for creative writing.
Are you teaching students about different materials? This pack of 30 different photos shows a wide range of different common materials. This material photo pack presentation will make an excellent starting point for different discussions.
You could look at it directly as a presentation and discuss the different materials being shown in each of photos.
You could print off and laminate the photos to make an interesting, eye-catching display about different materials.
The students could also take the laminated photos and sort them into different sorts of materials. The students can then discuss how they decided on each type of material.
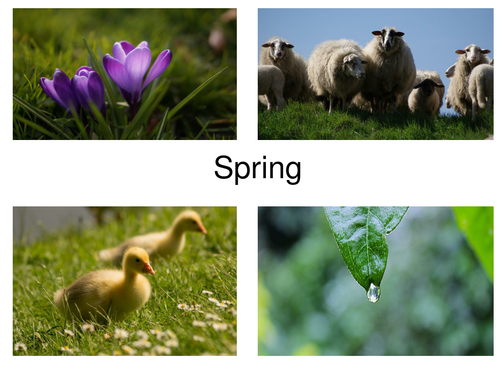
Are you doing the topic 'Spring' with your class? This is a greast resource pack. It contains 30 high qualiy photos relating to things we can can find about in Spring. There are endless ways you could use this pack. Here are just a few I would like to suggest...
You could show and discuss these images with the class. They make an excellent starting point for any discussion about Spring.
You can print out and laminate the photos to make an eye catching, colourful display about Spring.
The cards could also be given directly to the students to write descriptions about things we find in the Springtime.
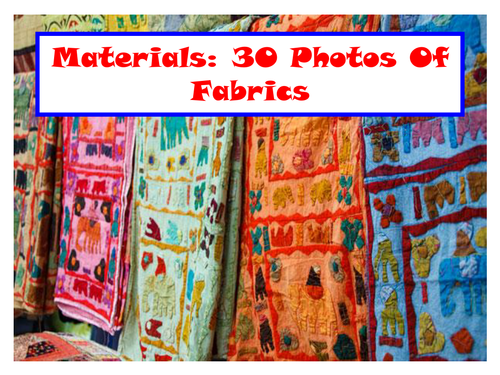
Are you looking at different materials and fabrics? Are you wanting to use some visual support to make your lesson more effective? I have collected 30 photos of fabrics which your students are free to sort into different groups and discuss.
You could look at it directly as a presentation and discuss the different materials being shown in each of photos.
You could print off and laminate the photos to make an interesting, eye-catching display about different fabrics.
The students could also take the laminated photos and sort them into different types of fabrics. The students can then discuss why they think each one was used or something they could make with it.
The photos could also be used as prompts for creative writing, factual writing or descriptive writing.
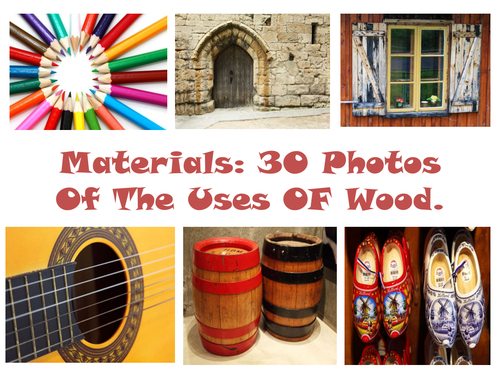
Are you teaching your class about different materials? Are you focusing for a lesson on wood? I have collected together photos of 30 different wooden objects for your students to discuss and sort into different groups.
You could look at it directly as a presentation and discuss the different uses of wood being shown in each of photos.
You could print off and laminate the photos to make an interesting, eye-catching display about the uses of wood.
The students could also take the laminated photos and sort them into the different uses of wood. The students can then discuss why people uses woood for each of the objects.
The photos could also be used as prompts for creative writing, factual writing or descriptive writing.
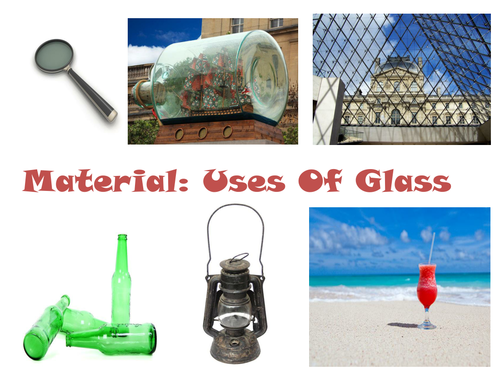
Are you teaching about different materials? Are you focusing on the uses of glass? Are you looking for visual resources to to support your teaching in this subject? I have collected together 30 high quality photos of glass objects which would make an excellent display or a great introduction into the features of glass and the uses of glass.
You could look at it directly as a presentation and discuss the different uses of glass being shown in each of photos.
You could print off and laminate the photos to make an interesting, eye-catching display about the uses of glass.
The students could also take the laminated photos and sort them into the different uses of glass. The students can then discuss what they think why did people choose to use glass in each of the images.
The photos could also be used as prompts for creative writing, factual writing or descriptive writing.